Hello everyone!
China’s most revered haute couturier, Guo Pei, had teamed up with MAC this season to create a collection that is inspired by her “garden of the soul” (the name she gave for this inspiration), merging vibrant jewel tones with rich neutrals and punctuated by deep graphite.

MAC X Guo Pei
Virtually unheard of outside of her home country before this collection materialised, Guo is best known in the fashion world for her ornate and elegant gowns which style is influenced by traditional Chinese imperial court design. Hand-sewn, her creations typically take years and a lot of manpower to create. Her work has been featured in many significant events such as the 2008 Summer Olympics and the 2015 Met Gala where Rihanna (in)famously donned in her most ambitious empress-style trailing yellow gown and spawned numerous food (e.g. omelette and pizza) memes. Nevertheless, Guo Pei is indeed an incredibly talented fashion designer (she just needs to pick the appropriate person to reinterpret her work)! I stumbled upon some of her runway pieces and instantly fell in love with them. Floral embroidery in oriental colours, the style is so me! If only they are made for normal everyday wear. But then again, it’s not like I would be able to afford them 🙄
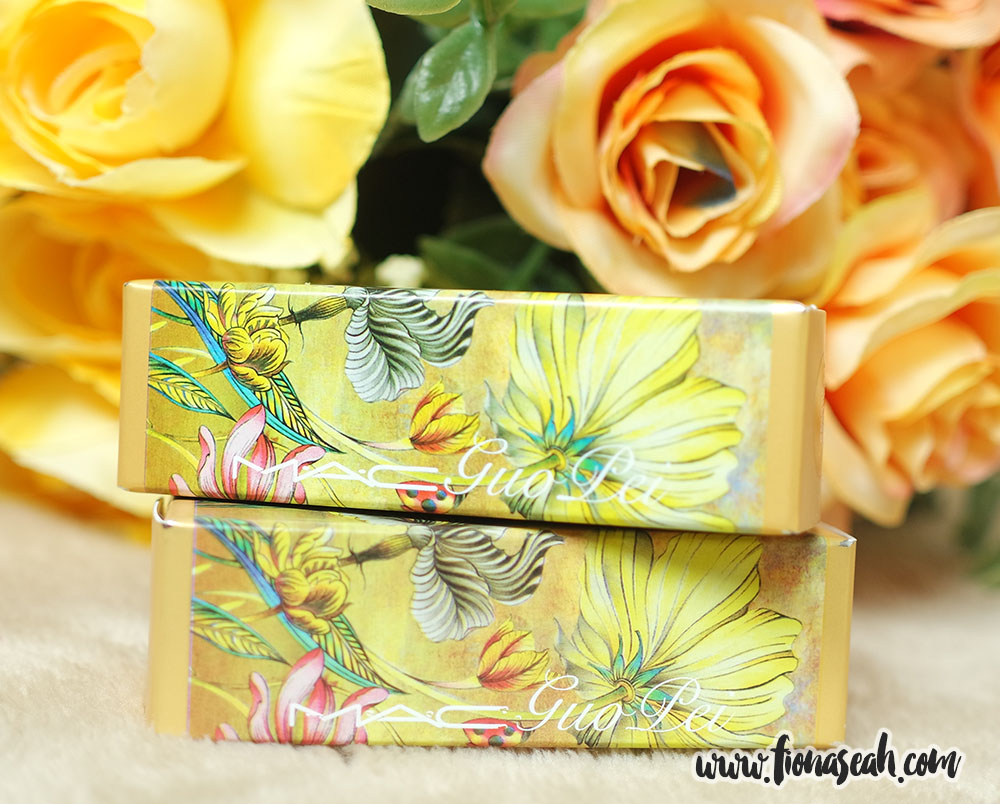
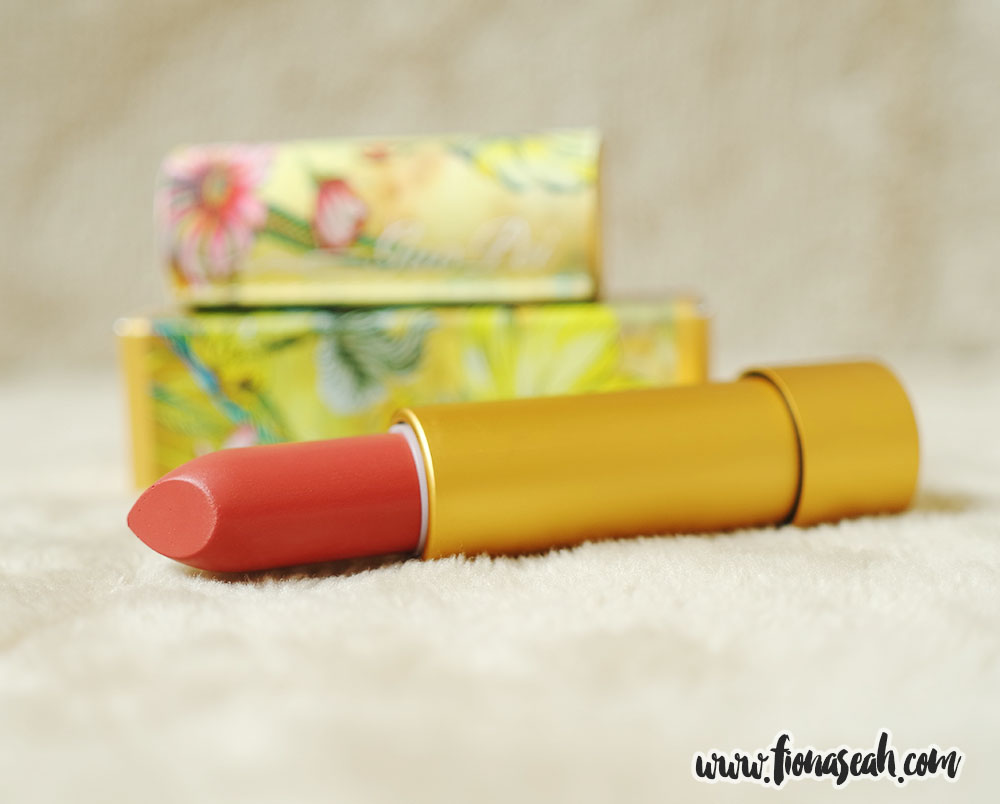
MAC x Guo Pei Lipsticks (packaging)
In their second collaboration with Chinese designers (after Bao Bao Wan), MAC rolled out a limited-edition collection that features 2 eyeshadow quads (in Morning Light & Night Sky, US$70), 3 gel liners (in Blue Fountain, Darkness of Calm & Palm Tree, US$17.50), 3 lipsticks (in Zenith, Ethereal Orchid & Brave Red, US$30), 3 cremesheen glass (in Bright pink Bouquet, Pale Moon & Love of Roses, US$28), 2 powder blush (in Lotus Blossom & Red Water Lily, US$40), a beauty powder (in Soft Moon Light, US$70) and a pair of brushes (213 Fluff Blush, US$32, & 129 Powder Brush, US$46). Every product in this line – even the brushes – is encased in gold, peony-illustrated fabric stitched along one side. So captivated by the beauty of the design! ❤
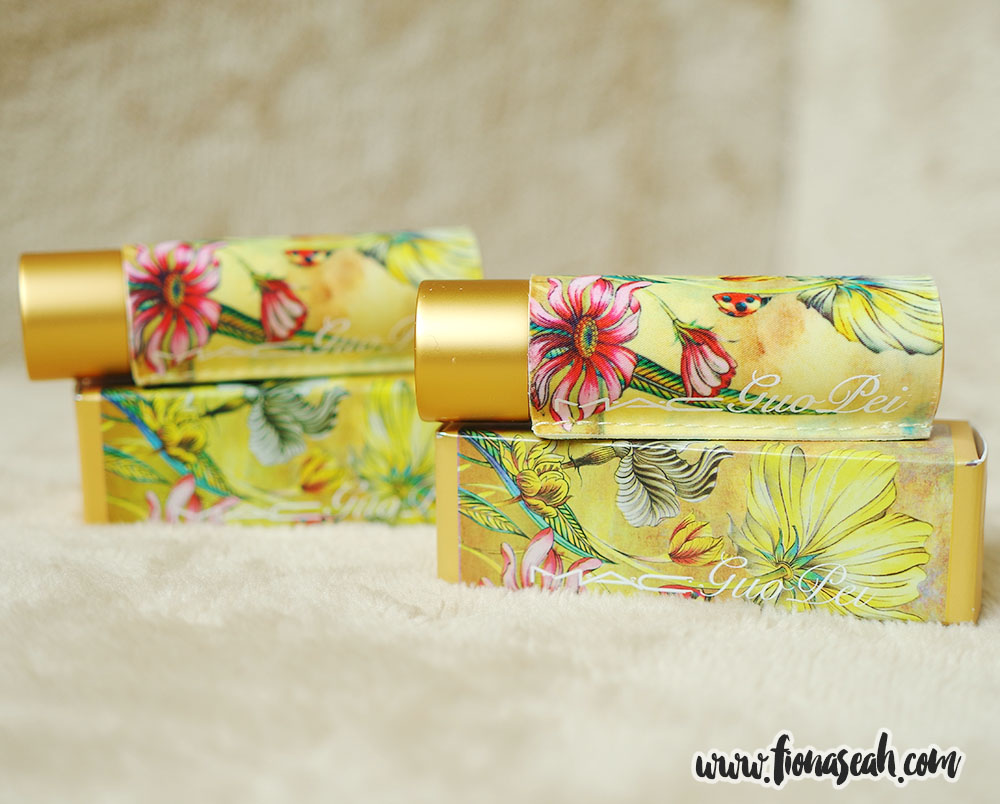
MAC x Guo Pei Lipsticks (casing)
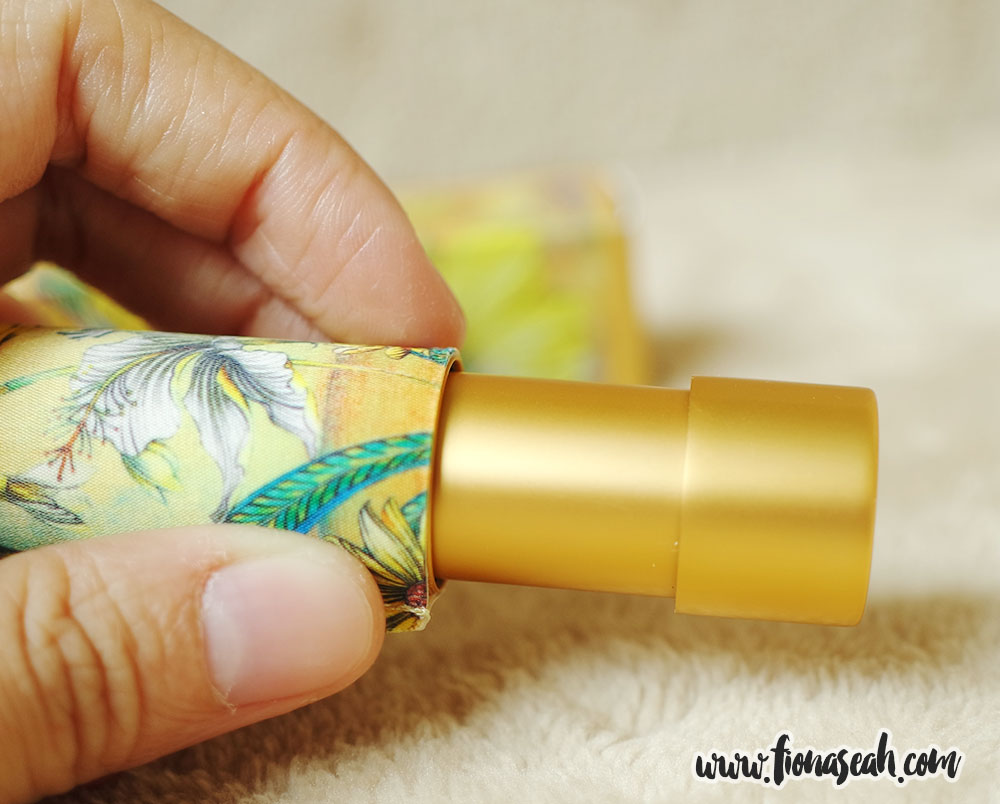
Royally golden metal-like tube… kinda reminds me of Sun Wu Kong’s Jingu Bang (Monkey King’s golden pole)
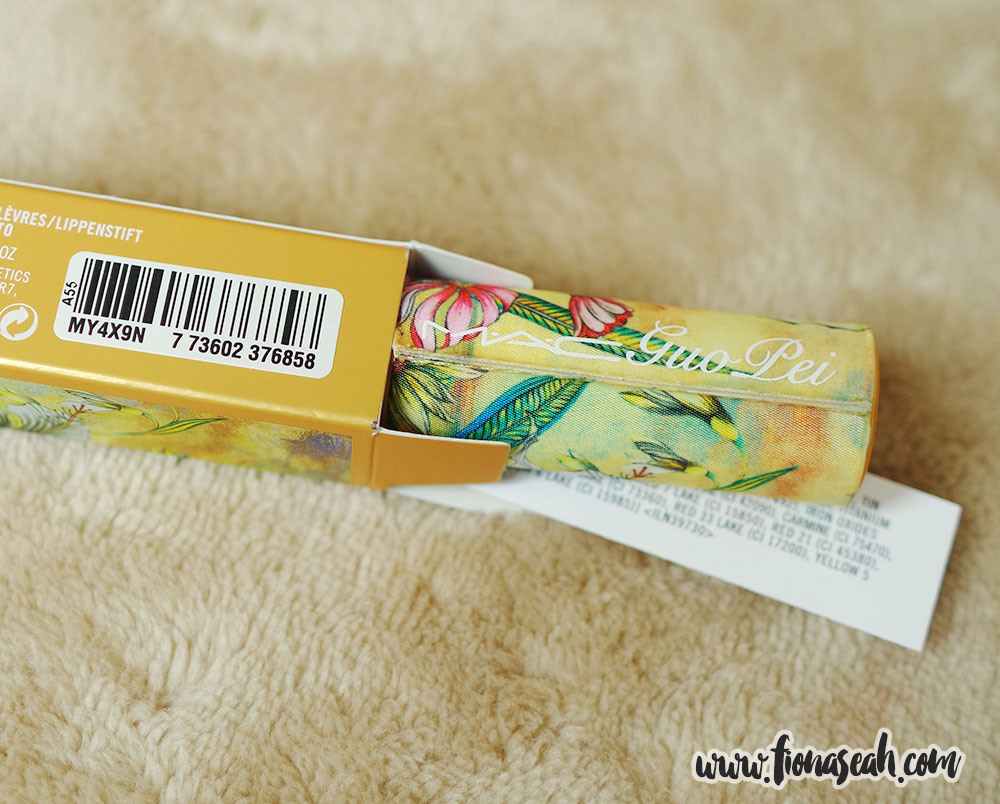
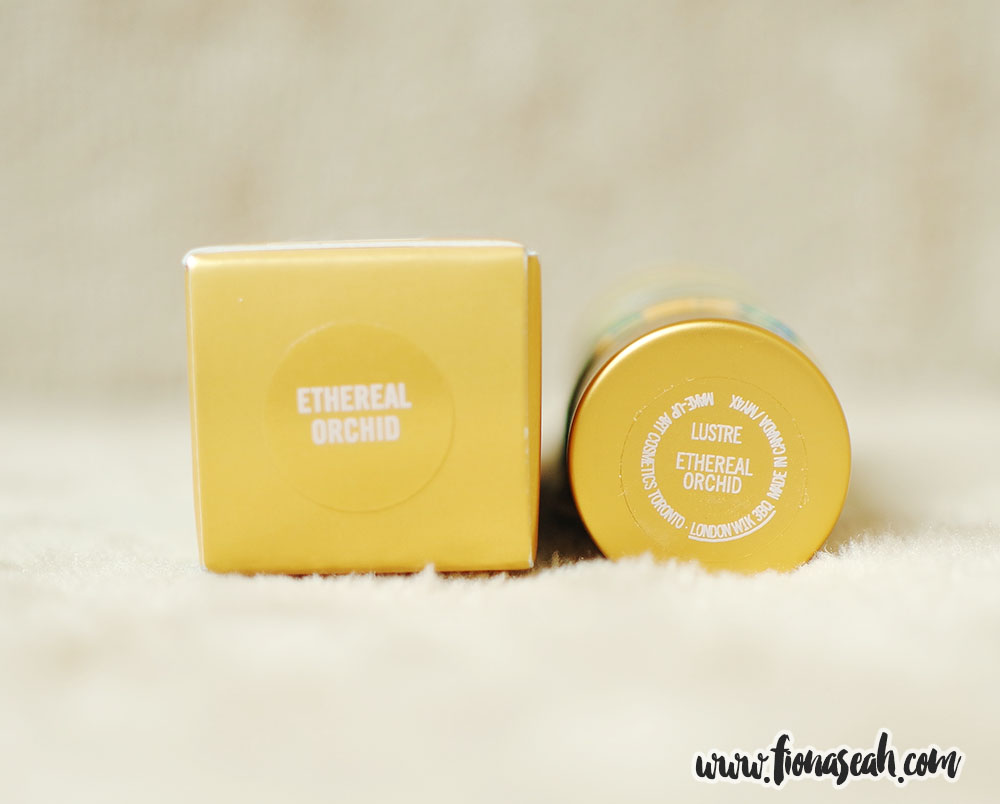
The ingredient list is printed on a separate strip of paper and inserted into the box, just like how it was done for Giambattista Valli collection
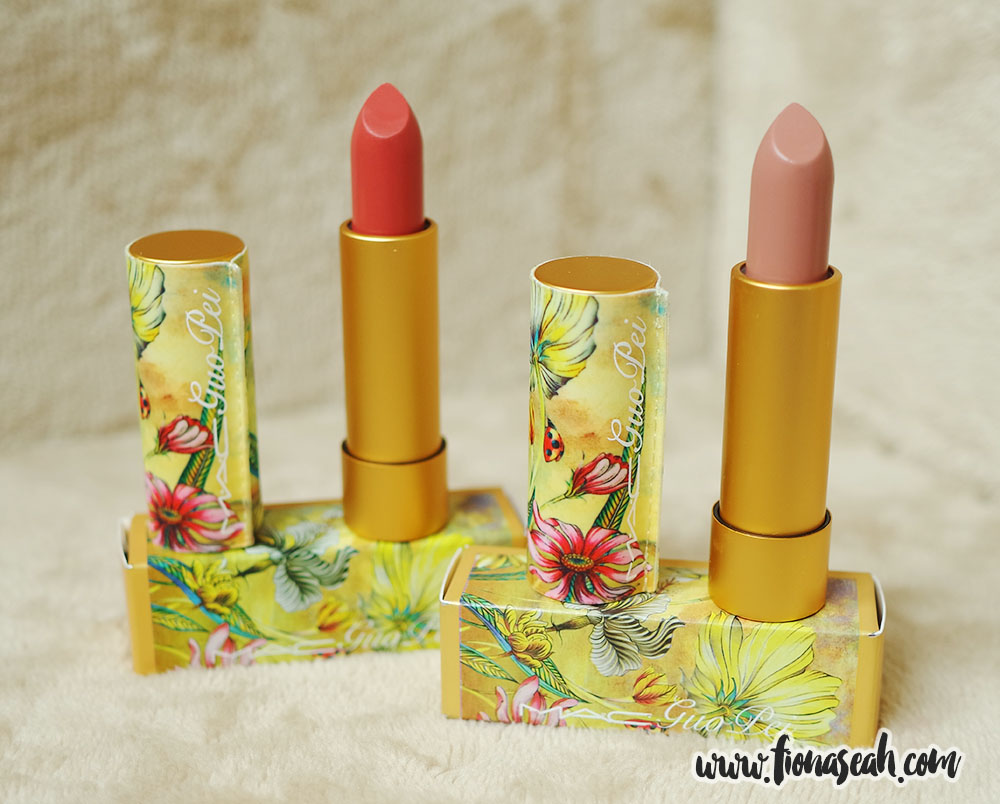
Unveiling the gorgeous shades of Ethereal Orchid (left) and Zenith
Ethereal Orchid (left) & Zenith
I only picked 2 colours from the lipstick line because the third – Brave Red – is a permanent shade which I already have in my stash. Exorbitant is the word to describe the prices for this collection, which correspond to that of Prabal Gurung collection last year. If not for the pretty packaging (well, gotta give props to MAC for knowing how to strike their customers’ soft spots), I wouldn’t have given two hoots about this collection.
But rants aside, I’m sure many of you are curious about the lipsticks (both lustres, by the way like argh, I know right?!).. which probably cost as much as luxury beauty brands like Chanel and Dior *sigh* so let’s get down to the details!
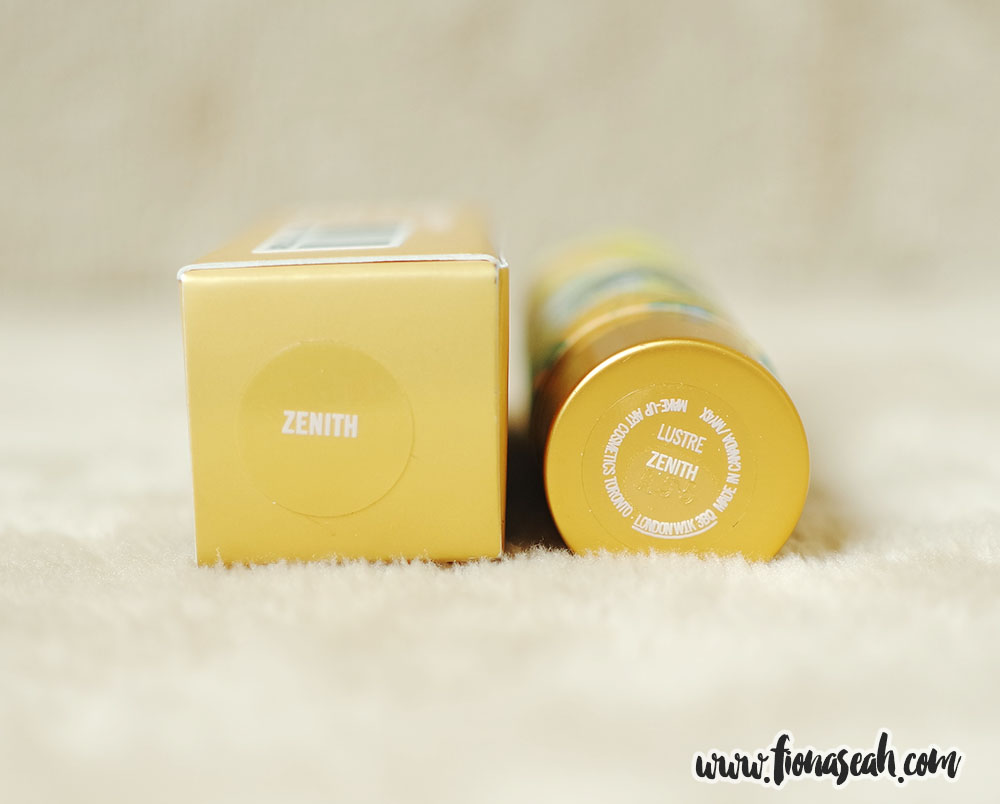
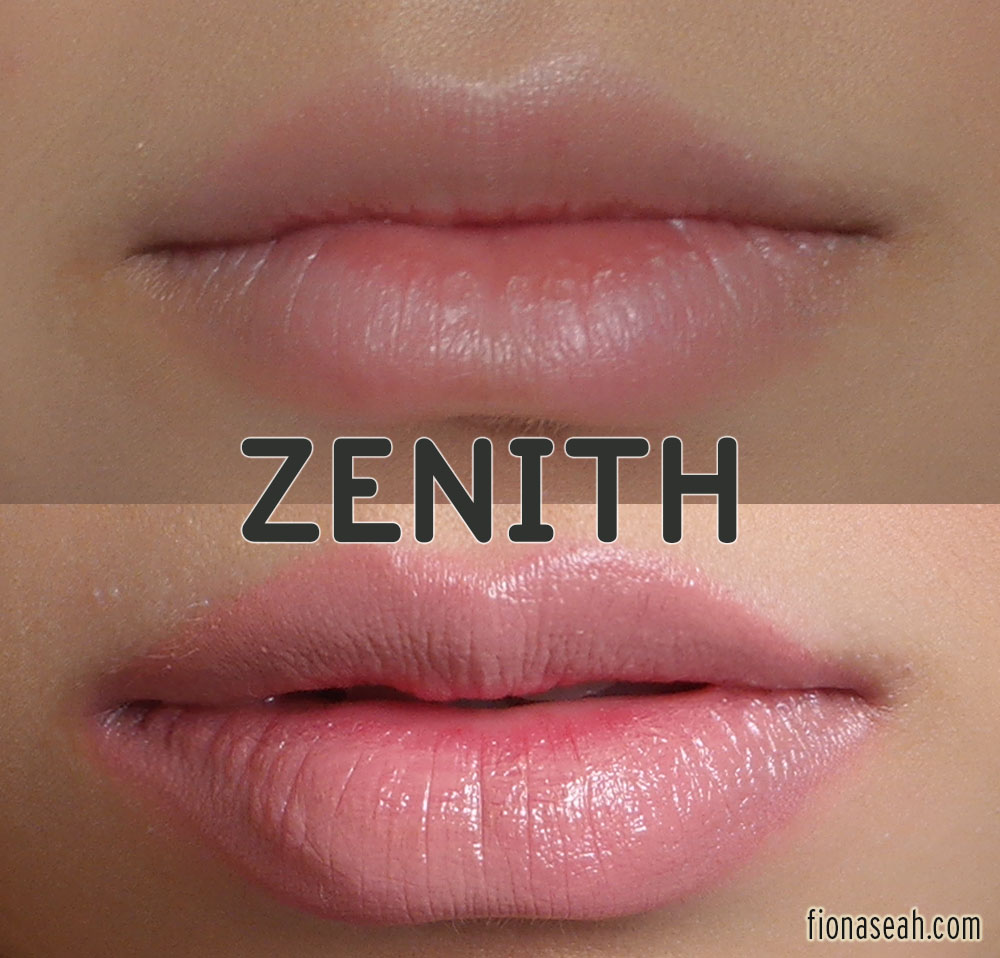
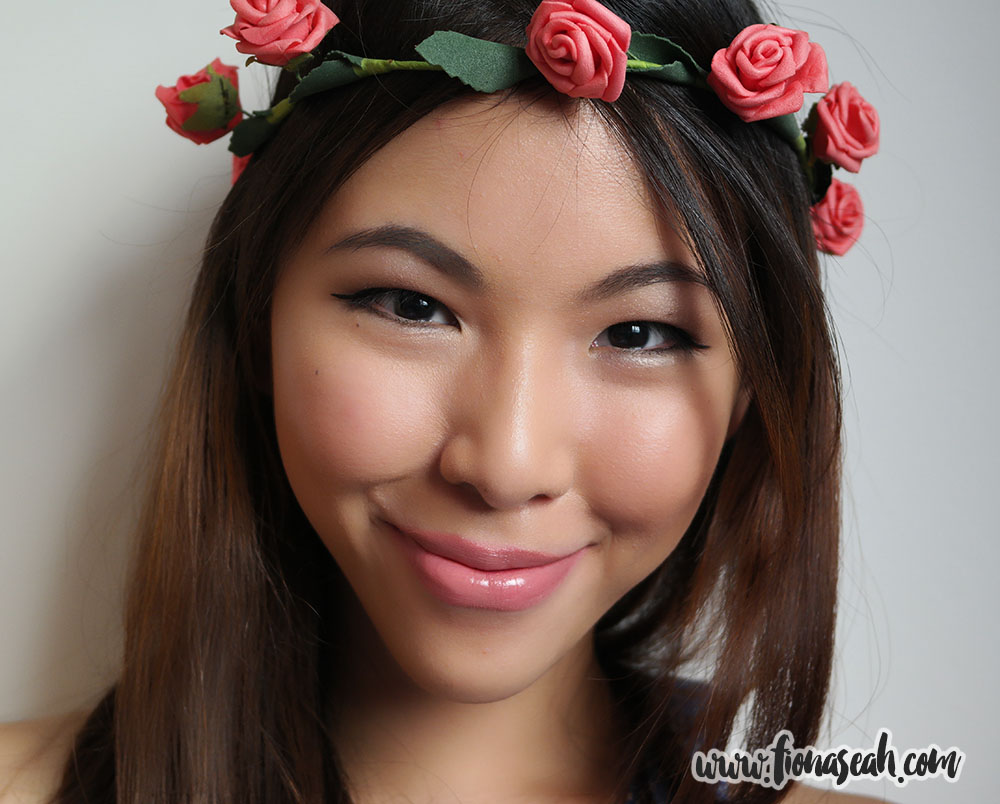
#1 Zenith

Zenith is a light nude with Lustre finish (US$30 / S$60)
Zenith

Zenith
Zenith
Zenith

Zenith
As most of you know, I have a love-hate relationship with lustres…. ok, perhaps leaning more towards the hate spectrum. They are easy to apply but they normally are too sheer to show on the lips. They’re like lip balms with the humectant qualities and all, just more expensive. Zenith here fits perfectly into my perception of lustre lipsticks – very sheer yet lightweight and hydrating. It glided on smoothly on the lips but provided little to no difference in the lip colour. But that could just be me because of my medium skin tone which unfortunately tend to camouflage nude shades.
However, unlike Lustres I own (and I’ve a box full of them), Zenith somehow manages to conceal my lip lines very well. Although I don’t really like the colour, I was pleased that it didn’t turn out patchy on my lips. The formula surprisingly surpasses my expectations! Whoa, was it me or did MAC improve the quality for this collection to match the steep price?
#2 Ethereal Orchid
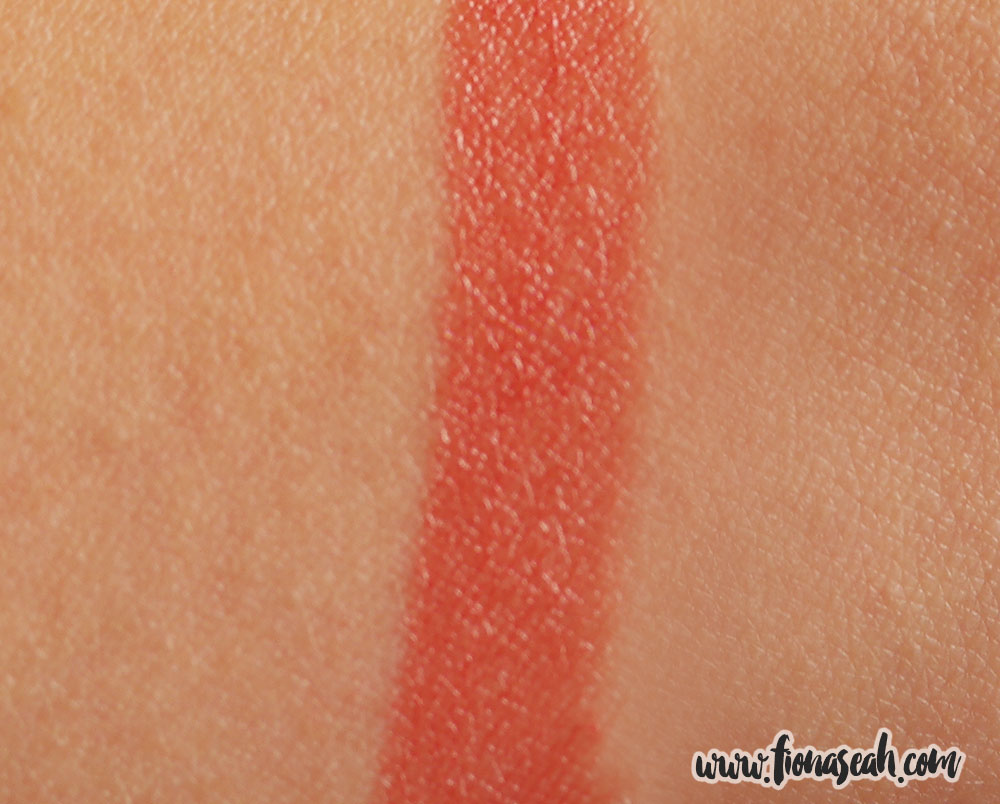
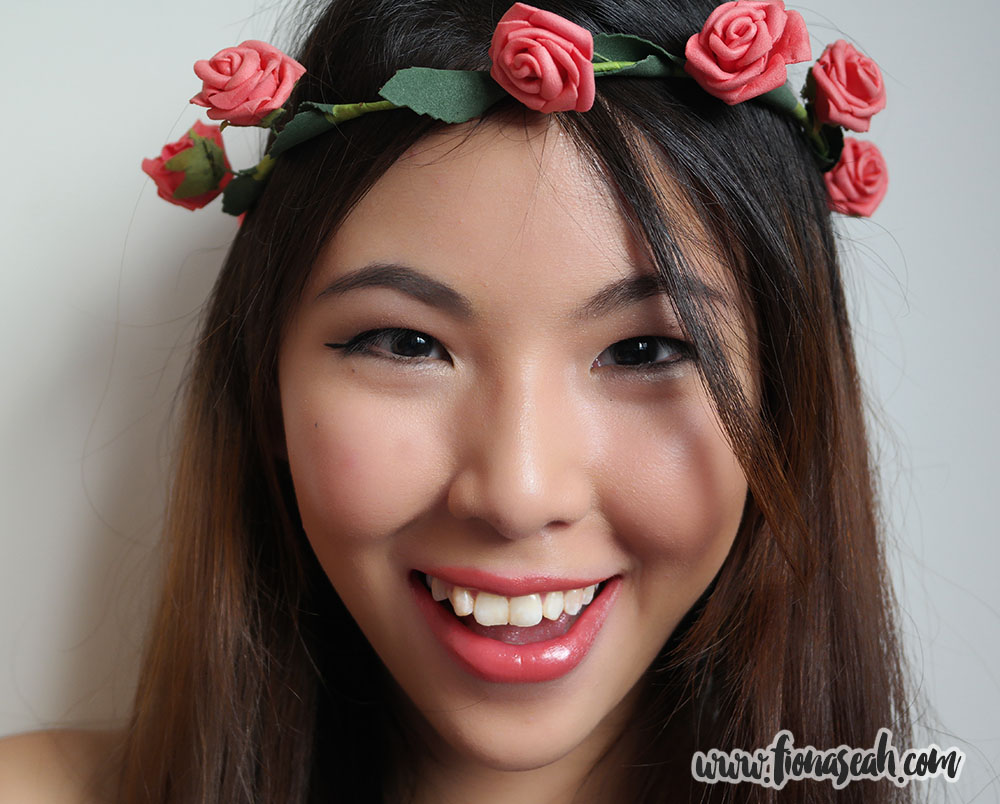
Ethereal Orchid is a midtone dirty coral with Lustre finish (US$30 / S$60)
Ethereal Orchid
Ethereal Orchid

Ethereal Orchid
Ethereal Orchid

Ethereal Orchid
In another turn of events, I found myself enjoying the second Lustre lipstick tremendously. The colour is gorgeous and noticeably different (already received compliments from a friend on this shade) and the coverage is impressive because it doesn’t leave streaky marks behind. Furthermore, the soft sheen adds radiance to my dull lips and make it more healthy-looking and plump. It felt almost like the Huggable formula, just less clingy and definitely wouldn’t last as long.
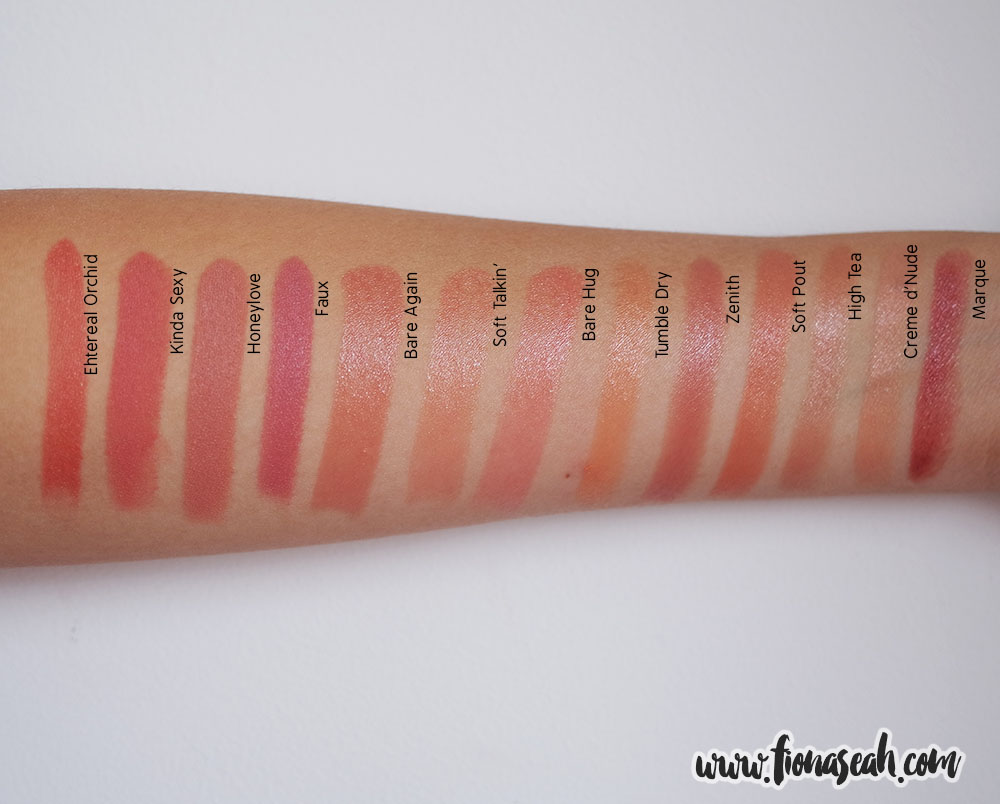
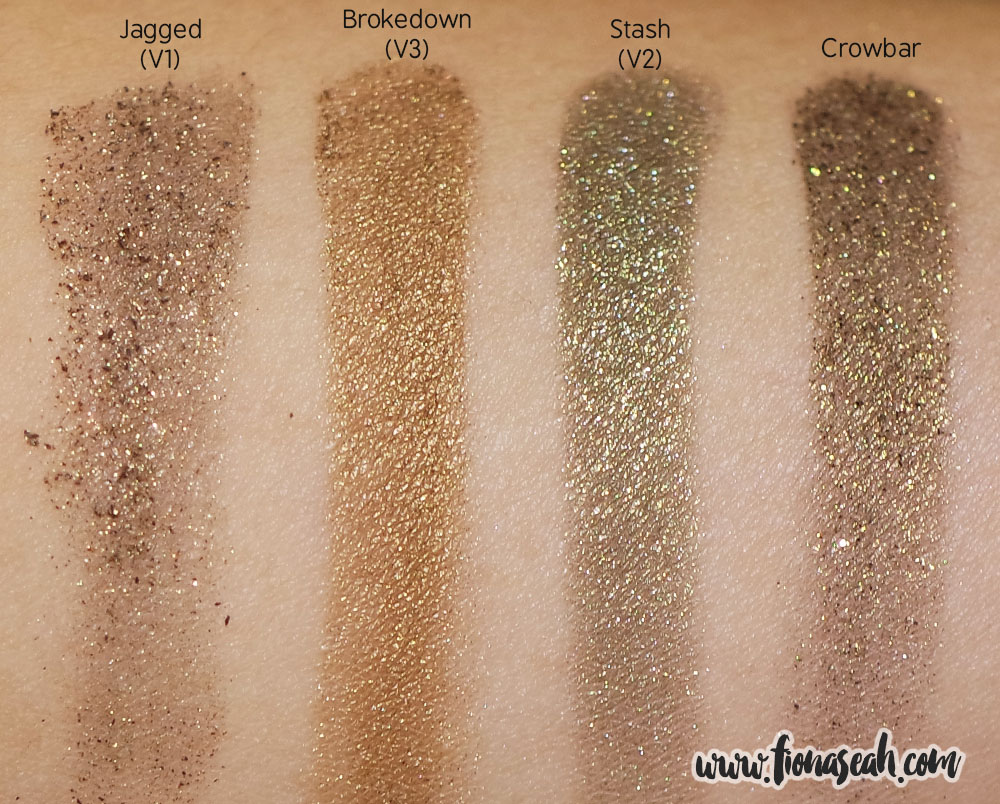
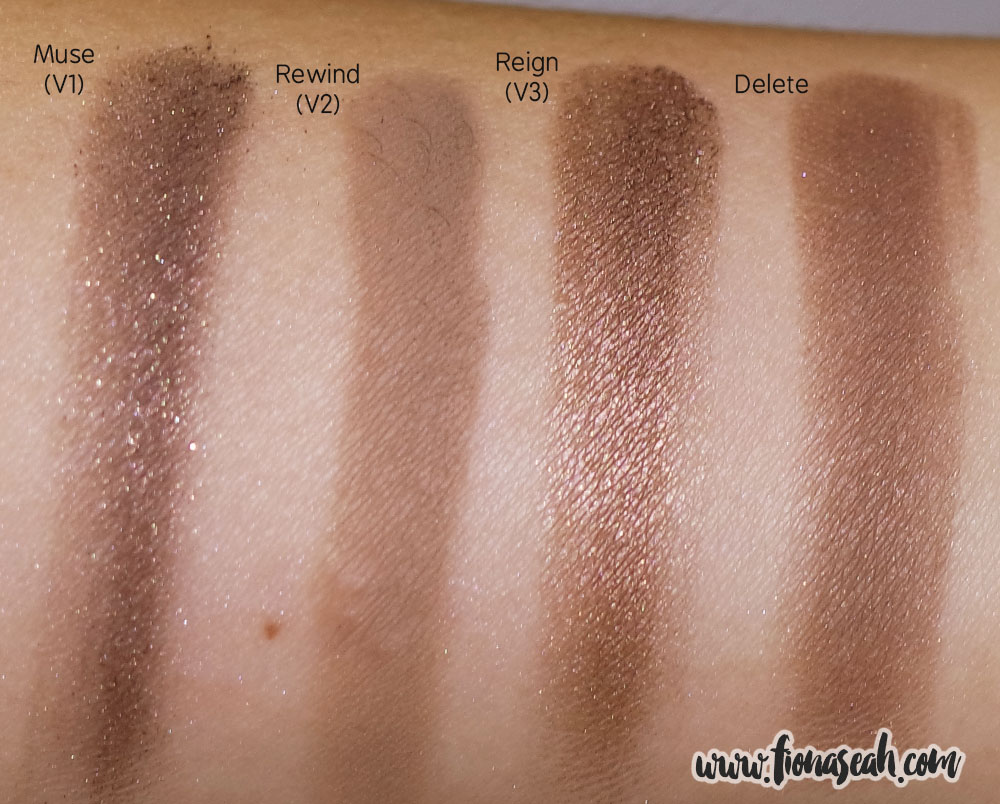
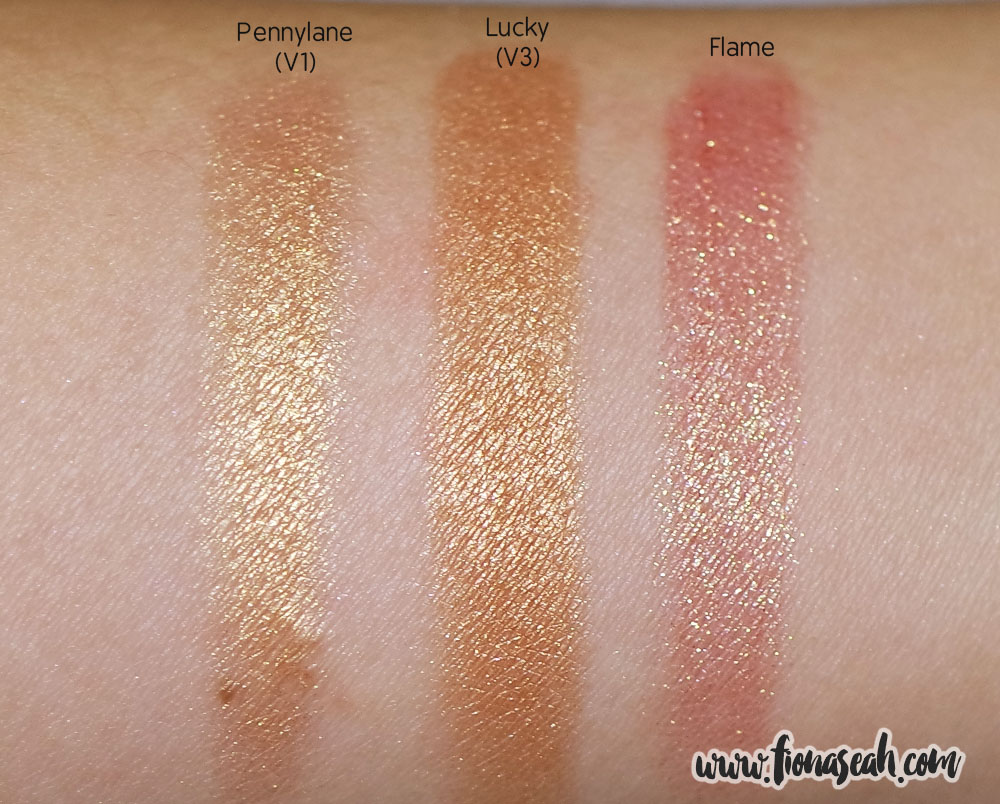
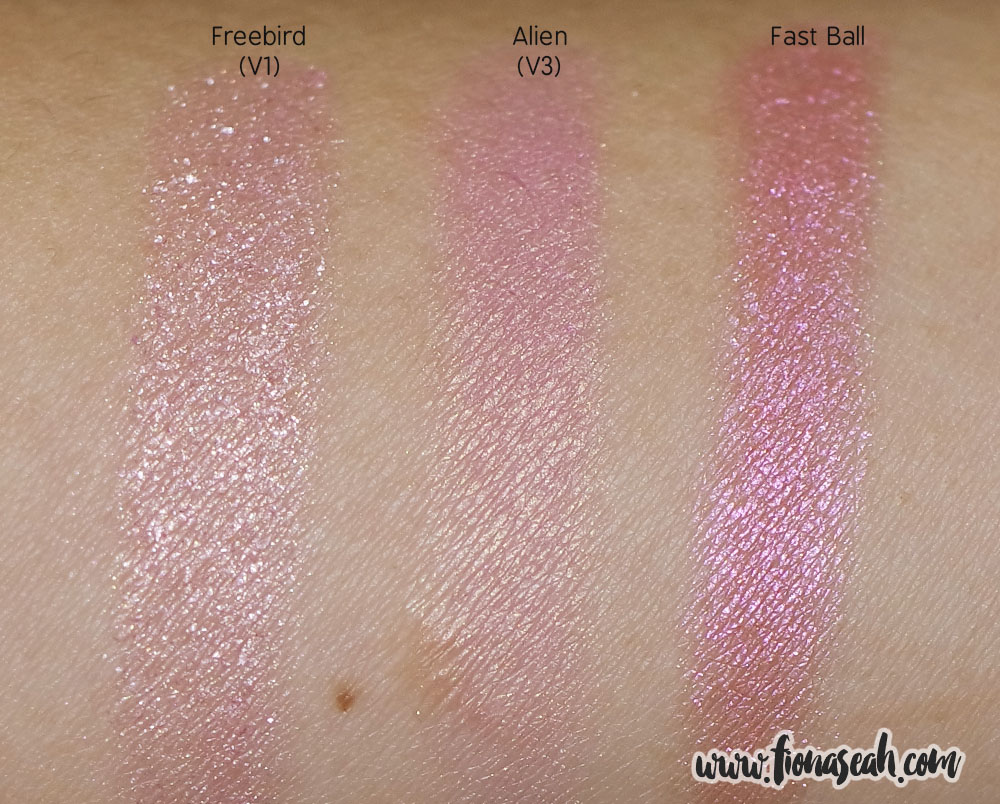
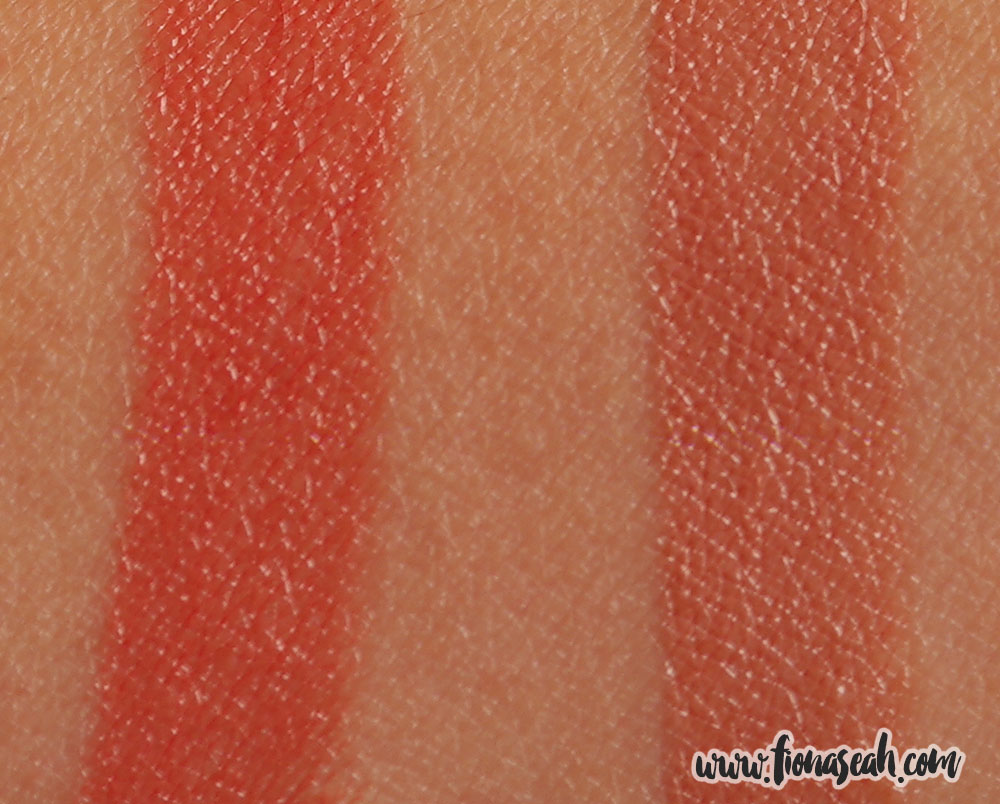
Swatch comparisons
You can probably find a cheaper dupe for Zenith but Ethereal Orchid is a unique shade for sure! At least for MAC. Still, much as I love these lipsticks (I thought they were going to be another disappointment like the Cinderella lipsticks but thankfully they’re not), I don’t think it’s worth the hefty price tag. I take consolation that I had actually paid for two designer lipsticks.
What are your thoughts? Share them with me in the comments below!
Thanks for reading!